My child is hard to understand at school age. Should I be concerned?

Many parents notice speech errors when their children are toddlers. At that stage it often feels quite normal. Young children are still learning the sounds of their language, and those early mispronunciations can be very endearing.
But as children grow older, parents sometimes begin to wonder:
‘Should my child still be speaking like this?’
A common concern I hear from families is that their child is still difficult to understand even after starting school. Sometimes it is a parent who notices it first. Other times it is a teacher who gently mentions that classmates occasionally struggle to understand what a child is saying.
When this happens, parents naturally wonder whether it is something their child will grow out of, or whether some extra support might help.
When should children’s speech be clear?
Children learn speech sounds gradually over several years. Some sounds develop earlier, while others take longer to master.
By the time children reach five to six years of age, most of their speech should be clear enough for unfamiliar adults to understand. There may still be a few tricky sounds developing (such as /R/ or /TH/), but overall speech should be fairly easy to follow.
If a child is frequently difficult to understand at school age, it can sometimes indicate that a speech sound difficulty has persisted beyond the stage when it would normally resolve on its own.
Why some children remain hard to understand
There are several reasons why speech clarity may still be developing in older children.
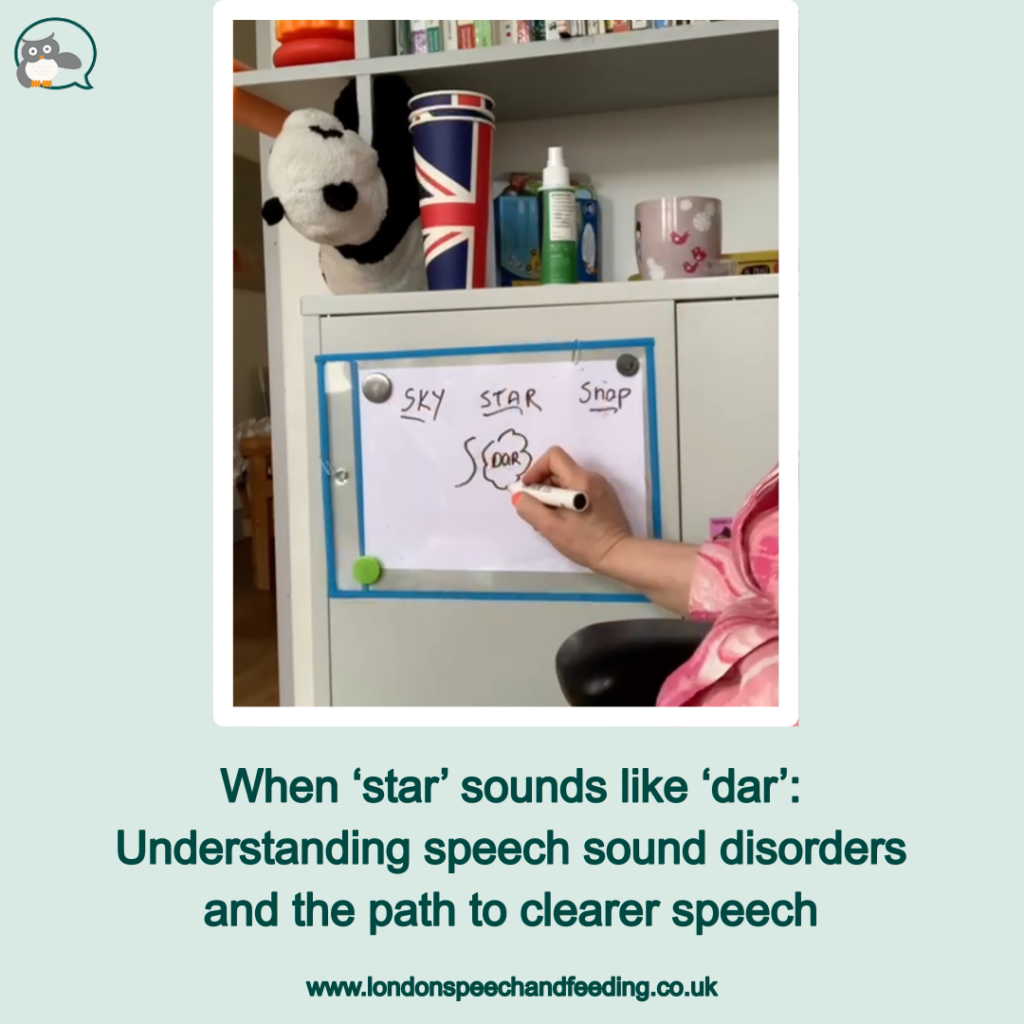
Phonological patterns
Some children continue to use speech patterns that are typical of younger children. For example:
- saying ‘tat’ instead of ‘cat’
- saying ‘doe’ instead of ‘go’
- leaving sounds out of words
These patterns are called phonological processes. They are a normal part of early speech development, but when they persist into the school years they can make speech difficult for others to understand.
Difficulty producing specific sounds
Other children may have difficulty producing certain individual sounds clearly. This might include sounds such as:
- /S/
- /SH/
- /R/
- /TH/
These difficulties are called articulation difficulties.
A child might understand exactly what they want to say but find it hard to produce the sound accurately with their tongue, lips or airflow.
Motor speech planning challenges
For some children, the difficulty lies in the planning and coordination of the movements needed for speech.
Speech requires very precise timing between the tongue, lips, jaw and breath. If the brain finds it difficult to organise these movements consistently, speech can sound unclear or inconsistent.
In some cases this may relate to Childhood Apraxia of Speech, although only a full assessment can determine this.
Why clarity matters for school-age children
Speech clarity becomes particularly important once children start school.
At this stage, children are:
- Answering questions in class
- Talking with friends
- Reading aloud
- Developing confidence in communication
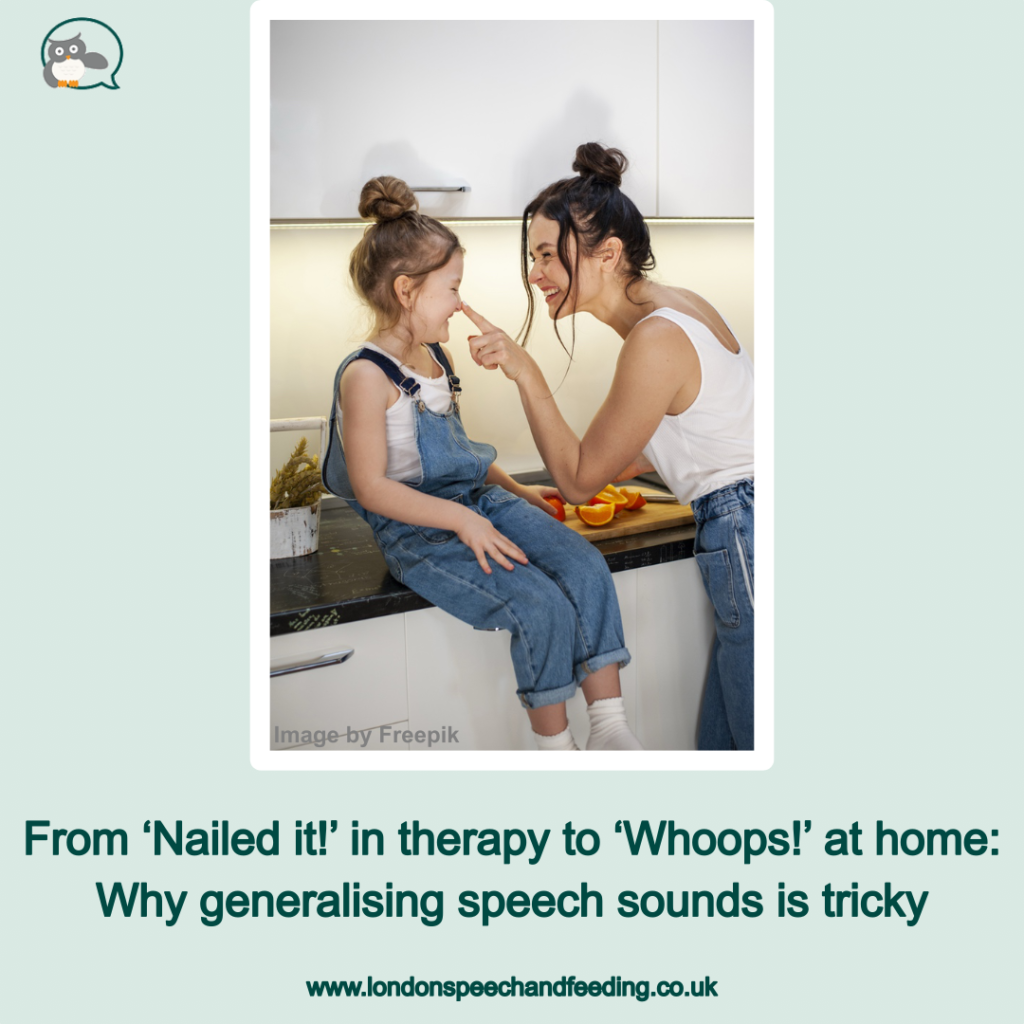
When speech is difficult to understand, children sometimes become more hesitant to speak, particularly in group situations.
This can affect confidence and participation, even when the child has lots of ideas they would like to share.
The good news: speech can improve
The encouraging news is that speech sound difficulties can often improve significantly with the right support.
Speech therapy focuses on helping children:
- Learn how sounds are produced
- Practise accurate speech movements
- Understand how sounds change meaning in words
- Build consistency through structured practice
Different children benefit from different therapy approaches. Some need support with phonological patterns, while others benefit from more motor-based practice that strengthens speech coordination.
Often therapy combines several strategies to support the child’s individual speech profile.
When to seek advice
If your child is already at school and you find that people outside the family often struggle to understand them, it can be helpful to seek advice from a speech and language therapist.
A detailed assessment can help identify:
- Which sounds are causing difficulty
- Whether patterns such as fronting or sound substitutions are present
- Whether motor planning challenges may be contributing
- Which therapy approach is likely to be most effective
Early support can help children develop clearer speech and greater confidence in communication.
Every child’s speech journey is different
Speech development is not the same for every child. Some children master speech sounds quickly, while others need a little more guidance along the way.
The important thing is that support is available when children need it.
With the right strategies and practice, many children make excellent progress and develop speech that is clearer, more confident and easier for others to understand. If you are concerned about your child’s speech clarity or ongoing speech sound errors, a speech and language assessment can help identify the underlying difficulty and guide the most appropriate support.
Feel free to contact me on my contact page.

Sonja McGeachie
Highly Specialist Speech and Language Therapist
Owner of The London Speech and Feeding Practice.


Find a speech and language therapist for your child in London. Are you concerned about your child’s speech, feeding or communication skills and don’t know where to turn? Please contact me and we can discuss how I can help you or visit my services page.