Learn the benefits of Cycles Phonology Approach in Speech Therapy

A grey, green and orange circle overlaid with Cycles Phonological Approach
Cycles Phonogogical approach

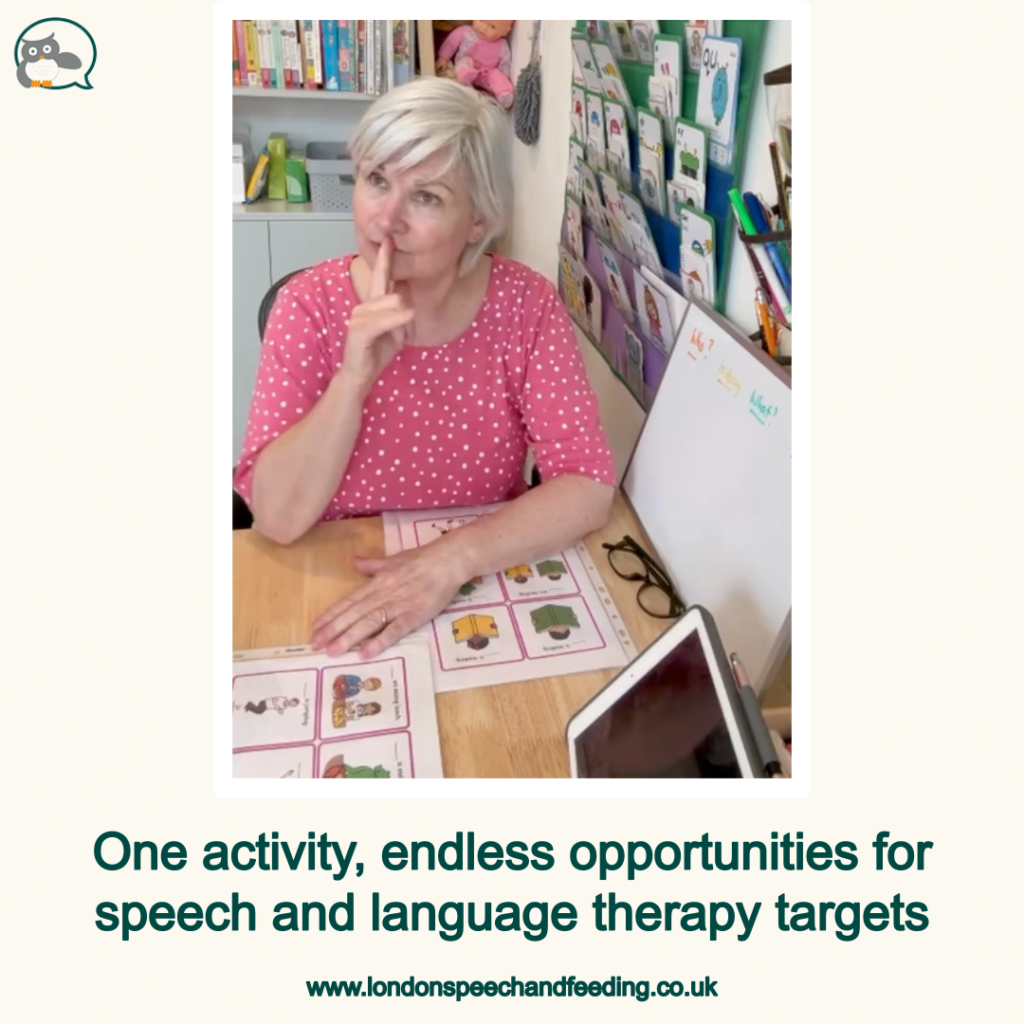
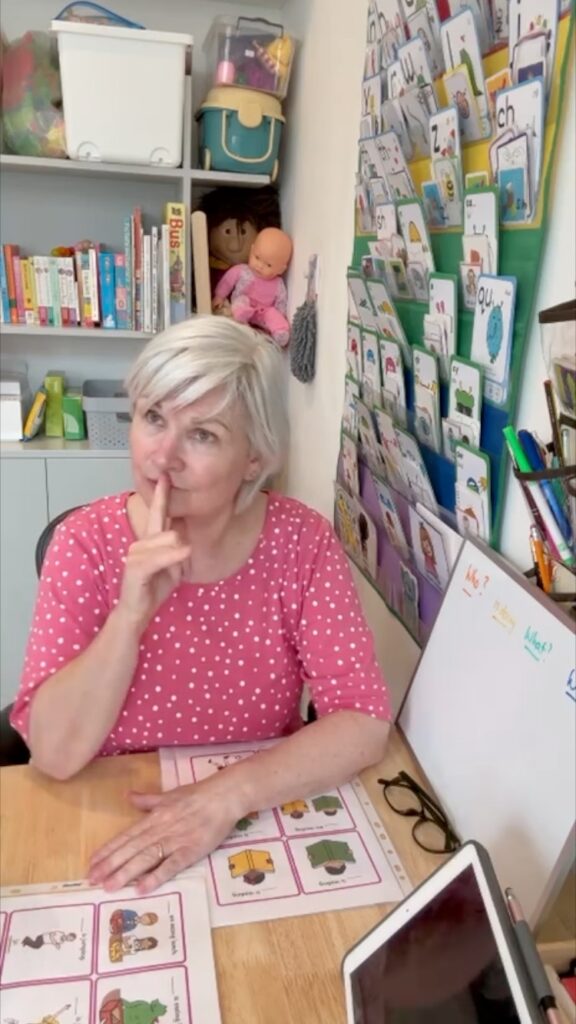
When your child attends Speech and Language Therapy, it can look like your child’s therapist is playing. Therapy needs to be fun, which means carrying out therapy through the medium of play. But remember every approach used has evidence behind it. We need to know that therapy will be successful, so an evidence-based approach is essential.

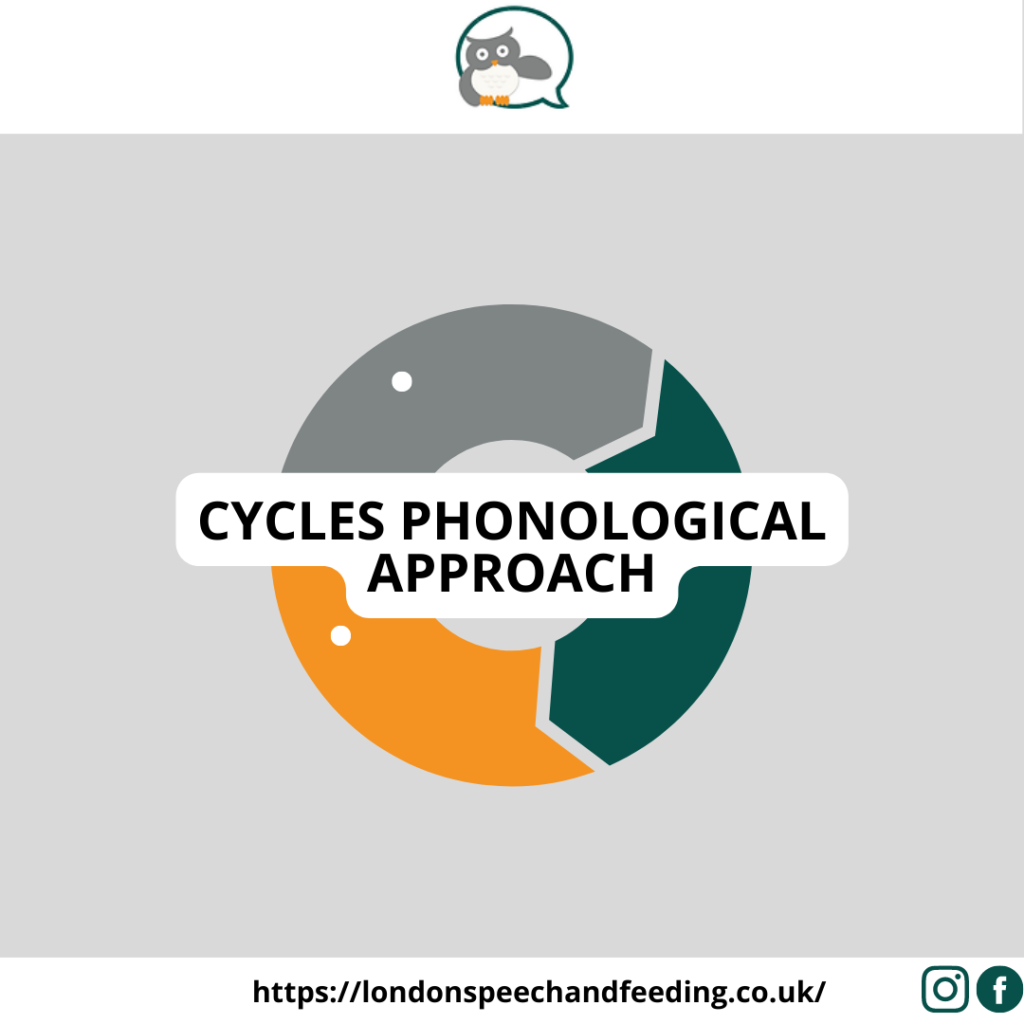
One of the approaches used for Speech Therapy (i.e., working on speech sound production) is the Cycles Phonology Approach. This approach focuses on the patterns and processes rather than each individual sound. For example, it may be working on final consonant deletion, so the omission of the final sound in words. As Speech and Language Therapists we understand that children can get frustrated and fatigued working on the same sound every day. This approach attempts to solve that. Hodson suggests, the approach is also useful for children with more speech sound errors, as therapists see progress in areas not targeted.

How does the Cycles Phonology Approach work?

Your Speech and Language Therapist will assess your child’s speech development and will then analyse the results. They will also look for which sounds they can produce with support (this is called stimulability). They will analyse patterns in the results and will formulate a plan.

The Cycles Phonology Approach intervention allows your child to work in blocks. This might mean they work for half a week for 30 minutes on (e.g., clusters). Then the next half they’ll work for 30 minutes on a different process (e.g., omission of sounds at the end of words).

Research has found that the following error patterns respond well to this approach:

  • Syllables (identifying the different parts in a word e.g., “ae-ro-plane”)
  • Final Consonant deletion (omission of the final sound e.g., “ca” instead of “cat”)
  • Initial consonant deletion (omission of the first sound e.g., “at” instead of “cat”)
  • Fronting (instead of making a sound at the back of the mouth, it’s made at the front e.g., “tatinstead of “cat)
  • Backing (instead of making a sound at the front of the mouth, it’s made at the back e.g., “guninstead of “bun)
  • S blends (e.g., “sl, sm, sn, sk, sw”)
  • Gliding of liquids (e.g., “lellow instead of yellow”, “wabbit instead of rabbit)

What does a Speech and Language Therapy session look like when using the Phonology Cycles Approach?

The format of the session remains the same for whichever speech sound pattern your child is working on. Your child’s Speech and Language Therapist will review the previous session. Then they will use an activity to work on your child hearing the sound several times (this is called ‘auditory bombardment’). Then your child will practise saying the sound. Next, the Speech and Language Therapist will check if your child can say any of the sounds which they haven’t been able to produce before, with support. This is called a stimulability check. After this, your child will take part in an activity which builds their awareness of sounds in words (such as a rhyming or syllable activity). The session will finish with another auditory bombardment task (i.e., hearing their tricky sound repeatedly).

I will give you advice for practising at home, as it’s vital that your child learns in the correct way. We aim for 100 turns in therapy sessions, so it’s vital your child is motivated.

Contact me to improve your child’s speech sounds and improve their confidence when talking.


Find a speech and language therapist for your child in London. Are you concerned about your child’s speech, feeding or communication skills and don’t know where to turn? Please contact me and we can discuss how I can help you or visit my services page.

1

Similar Posts

  • · · ·

    Seeing sounds: How visual gestures boost speech sound learning

    Learning to produce new speech sounds can be a complex process for young children, especially those facing challenges with speech sound disorders or motor planning difficulties. It’s not just about knowing what a sound ‘should’ sound like; it’s about figuring out where to put your tongue, how to shape your lips, and how much air to push out. This is where the power of visual gestures comes in – literally helping children see how to make sounds.

    As speech and language therapists, we frequently use visual cues and hand gestures to teach articulation. These techniques are incredibly effective, particularly when a child is struggling with the motor planning aspect of speech production.

    In the video clip above you see me teaching

    • the /SH/ sound: the hand makes a C-shape and moves forward showing both how the lips are positioned and the air flowing forward
    • the /S/ sound: the index finger shows a snake like movement going forward- also showing the air flow again
    • the /W/ sound: my right hand moves forward and fingers splay out showing that the lips open up at the end of the sound
    • the /K/ sound: my finger points to the back of my throat where the tongue needs to raise.

    An overview of motor planning for speech – what do we mean by that?

    Think about learning to ride a bike or play a musical instrument. You don’t just know how to do it instantly. You have to plan the movements, practise them, and make adjustments. Speaking is similar! Our brains must:

    1. Plan the sequence of movements needed for each sound and word (e.g., /B/ requires lips together, then release, while /T/ requires the tongue tip behind the top teeth, then release).
    2. Execute those plans rapidly and precisely.

    For some children, especially those with conditions like Childhood Apraxia of Speech (CAS) or other severe articulation disorders, this motor planning process is disrupted. They know what they want to say, but their brain struggles to send the correct, consistent messages to their articulators (lips, tongue, jaw, velum). This can make speech sound learning incredibly frustrating.

    Why use visual gestures?

    Visual gestures provide an additional, powerful sensory input that can help bridge the gap between knowing a sound and producing it. Here’s how and why they are so beneficial:

    1.      Providing a visual map:

    • How it helps: Many speech sounds are ‘hidden’ inside the mouth. It’s hard for a child to see where their tongue needs to go for a /K/ sound (back of the tongue to the roof of the mouth) or a /T/ sound (tongue tip behind teeth). A simple hand gesture can visually represent this mouth movement. For example, a hand gesture for /K/ might involve sweeping the hand back towards the throat, while for /T/, it might be a tap on the chin.
    • Why it works: Children are highly visual learners. Seeing a physical representation of an abstract mouth movement gives them a concrete ‘map’ to follow, making the process less mysterious and more manageable.

    2.      Enhancing motor planning and memory:

    • How it helps: When a child simultaneously moves their hand (the visual gesture) and attempts to make the sound, they are engaging multiple sensory systems (visual, tactile, proprioceptive – body awareness). This multi-sensory input strengthens the neural pathways associated with that speech sound.
    • Why it works: This multi-modal learning helps to solidify the motor plan for the sound in the brain. It’s like having more ‘hooks’ to hang the information on, making the sound easier to recall and produce consistently. The gesture becomes a built-in reminder.

    3.      Reducing cognitive load:

    • How it helps: Instead of just hearing the sound and trying to figure out the complex motor sequence, the child has a visual cue to guide them. This reduces the mental effort required to decode the sound production.
    • Why it works: When cognitive load is lower, the child can focus more effectively on the specific motor execution of the sound, leading to faster progress and less frustration.

    4.      Increasing engagement and success:

    • How it helps: Gestures can make therapy more interactive and fun! When a child successfully produces a sound with the help of a gesture, it’s a tangible victory.
    • Why it works: Success is a powerful motivator. When children experience success, they are more likely to stay engaged, participate actively, and feel more confident in their ability to learn new sounds.

    5.      Supporting self-correction:

    • How it helps: Once a child learns the gesture associated with a sound, he or she can use it as a self-monitoring tool. If he or she makes an error, he or she can use the gesture to remind himself or herself of the correct mouth position or movement.
    • Why it works: This promotes independent learning and reduces reliance on constant adult prompting.

    Conclusion

    The journey of speech development can be challenging, but visual gestures offer a powerful and effective tool for teaching new sounds, especially when motor planning is a factor. By providing a clear visual map, strengthening motor memory, reducing cognitive load, and fostering engagement, these gestures pave the way for clearer communication and greater confidence. If your child is struggling with speech sounds, consider talking to a Speech and Language Therapist to get guidance on how visual gestures might be incorporated into the therapy plan. Because sometimes, seeing truly is believing (and speaking!).

    Sonja McGeachie

    Highly Specialist Speech and Language Therapist

    Owner of The London Speech and Feeding Practice.


    Health Professions Council registered
    Royal College of Speech & Language Therapists Member
    Member of ASLTIP

    Find a speech and language therapist for your child in London. Are you concerned about your child’s speech, feeding or communication skills and don’t know where to turn? Please contact me and we can discuss how I can help you or visit my services page.

    1
  • ·

    Principles of motor learning in Childhood Apraxia of Speech (CAS)

    We use powerful motor learning principles to help children with CAS (Childhood Apraxia of Speech) learn how to produce better, clearer speech sounds in words, phrases and sentences.

    What are these principles?

    Principle 1: MASSED PRACTICE

    This is where you see a child for lots of sessions in a shorter period of time, so for instance six weeks of three times weekly for 30 minutes.

    This leads to motor performance or automaticity.

    Principle 2. DISTRIBUTED PRACTICE

    This is what I use, as most of my clients are not able to come and see me that often on a weekly basis. It is hard to travel in London and life is hectic. So I favour one session a week over say a term or two terms and a session is usually 45 minutes long.

    This leads to improved Motor Learning and good generalisation.

    During either Massed or Distributed Practice, we choose between 4 variables:

    Principle 3: Constant vs Variable

    Principle 4: Blocked vs Random

    To explain:

    Constant Practice is where we repeat the practice of a small handful of target words.

    We practise the same target sound in the same word position, e.g. at the beginning of a word: ‘bee’, ‘bye’, ‘bow’, ‘baa’ or ‘key’, ‘car’, ‘cow’, ‘Kaye’ etc.

    We keep the rate, pitch and intonation constant.

    Variable Practice is where we vary the rate, volume, pitch and intonation of the targets

    We use a larger number of sounds, and words that are motivating to say for the child.

    For example, if a child loves Peppa Pig then I might choose the words: ‘Peppa’, ‘Daddy Pig’, ‘George’, ‘Mummy Pig’ and a couple of other favourite characters. My child might struggle with a number of sound sequences there but we will target them one by one.

    We can also select simpler words like ‘cape’ and ‘cake’ or ‘tick’ and ‘tip’.

    Blocked Practice is where we practise one target word for say five minutes then we move to another target word for the next five minutes and then we revert back to the first target word again and so on, so blocks of practice.

    Random Practice means we practise several target words at the same time.

    How do I decide on what to use?

    Good question!

    I always opt for distributed practice (weekly for up to 45 minutes).

    Within that, I tend to find it most successful to start out with constant practice when a child is finding a certain sound sequence really hard and we need to just ‘nail it’. Bearing in mind I only pick sounds that my student can actually make in isolation, so we are not working on articulation! (where we focus on trying to elicit single sounds correctly – or even at all sometimes) Here in CAS work, we are working with sounds the student can make but is having trouble to add together, into a sequence that is needed to make a word sound right.

    As soon as I feel we have some traction I will go to variable practice, i.e. I pick words that are either funny or interesting for the child and it can be a slightly larger number.

    I tend to use blocked practice in the beginning or when working on vowels. That’s because it is more important we get our vowels right. They carry a word and are very important for overall speech intelligibility. Once we are on a roll, I tend to go more for random practice.

    Example

    Here in the video clip, we try and work the /e/ vowel in short words likes ‘bell’, ’fell’, ‘dell’, ‘sell’, ‘smell’ and I am using an AAC device to give a child’s voice as auditory feedback as well as using the PROMPT approach to help my student shape his vowels.

    So this is:

    1. Distributed (1 x week for 45 minutes)
    2. Constant – we are practising the /e/ vowel in the same position in six different words
    3. Blocked – we did this: several repetitions of each word and after the sixth we moved to another sound, and then later we came back to this.

    Please feel free to contact me if your child has speech sound difficulties. It is my passion. I love supporting children with apraxia.

    Sonja McGeachie

    Early Intervention Speech and Language Therapist

    Feeding and Dysphagia (Swallowing) Specialist The London Speech and Feeding Practice

    The London Speech and Feeding Practice


    Find a speech and language therapist for your child in London. Are you concerned about your child’s speech, feeding or communication skills and don’t know where to turn? Please contact me and we can discuss how I can help you or visit my services page.

    1
  • ·

    Target activities and games

    Target Activities and Games For Kids
    Target Activities and Games For Kids

    Target Activities and Games

    AMAZINGLY EASY Activities that we can do at home and in the clinic to help our children practise those targets!

    I bet you have wondered what amazing things are done by a therapist in the clinic that you could not possibly do at home…? Well, if so I am here to tell you that you will be absolutely fine with just a few select toys and games and you will be able to get those targets done in a jiffy!

    What we clinicians do very well and what you probably can’t do yourself is formulate and design the targets that are important for your child to practice. Once we have assessed or reviewed your child’s progress and needs we can then design the perfect next step of targets for you.

    So for example, we have decided your little one needs to be practicing their ‘r’ sounds at the beginning of short words. We decided that based on our clinical expertise and our assessment and we have already worked with your child and managed to get this tricky ‘r’ sound just about right on its own. Now we are ready for short word practice.

    It has been researched that in order for the brain pathways to re-shape or reform we need to get about 100 words in per day of our target sound. That sounds like quite a lot, right? But actually….. it’s not that bad. After all you only need to say 5-7 words about 20 times and hey presto that’s about 80-100 words.

    So here are some simple games I use in my clinic all the time and these games are easily available online or in your local toy shops and this is how to do them:

    Pop the Pirate

    Pop the Pirate, sooo good and popular:

    Lay out your target words which you will have been given by your speech therapist and put a few swords on each word.

    Each time your child picks up a sword they will need to say the target word 5 x, like:

    rip rip rip rip rip or run run run run run just like that in a row, bish bash bosh.

    Then they can stick the sword into the barrel. Onto the next sword which they can pick and then again

    race race race race race and stick in another sword

    So with this little lot I put out 5 target words and 3 swords on each.

    You will therefore get…… 15 words per picture, and that makes….75 words , there that is nearly all you need to do.

    If you then do another little game like this one:

    Magnetic board game

    This is a Magnetic Board game, and they are suddenly EVERYWHERE. But you could also just take a baking sheet and some fridge magnet you might have kicking about.

    Same principle as before, but now since this is your SECOND game of the day and you have already got 75 targets under your belt you only need to do one more round of 5 target words each:

    Each time your child picks up a magnet piece they will say the target word 5 more times:

    Ray ray ray ray ray and DONE you will now at the end of this short round have 105!! target words done with just two little fun games.

    How good is this? Your child won’t hardly notice that they are in fact doing their speech therapy homework.

    You’re welcome 🙂

    Get in touch if you would like me to help finding good targets for your child to work on. They can be speech and/or language targets with this game method.


    Find a speech and language therapist for your child in London. Are you concerned about your child’s speech, feeding or communication skills and don’t know where to turn? Please contact me and we can discuss how I can help you or visit my services page.

  • Using AAC – Augmentative and Alternative Communication for non-verbal and early verbal children

    Using a Core Vocabulary Board

    Your Speech Therapist might have been advising you to introduce words to your child with the help of a CORE BOARD. What on earth is she talking about and why would we want to do this, I hear you think – and in fact this is what I get asked a lot, as I often do recommend using Core Boards.

    Core boards belong to the category of Augmentative and Alternative Communication (AAC ) and they can be really useful for:

    • Children or adults who cannot speak at all or who are very hard to understand.
    • Children who are slow to speak and have difficulty expressing themselves verbally, due to genetic conditions as Down Syndrome, Verbal dyspraxia, Autism or any other learning difficulty that means a child is slow to develop speech.

    Here is what a Core board might look like, in fact this is one that I love to use. It is made by Beautiful Speech Life, there are a ton of similar boards out there for free. I have also made my own, you can check it out on my Instagram feed.

    Using a Core Vocabulary Board

    What is Core Vocabulary/ Core words?

    Core vocabulary consists of the most common words used by children throughout a day. In 2003 Banajee and Dicarlo et al found that 50 % of pre-schoolers in their project used nine words consistently across their daily play and meal routines. These words are Core words and are typically the ones you can see on a board, like the one above.

    How To Use It

    Adults always first need to consistently model and show their child how to use a board. This is key! For example: Adult can point to “YOU” “WANT” ‘MORE” and then point to the cup of Water on the counter. Child could then reply either by shaking his/her head and/or pointing to “NOT” which also stands for “NO”. Then adult can point to “NOT” “MORE” and do an OK sign as well. Eventually Child can initiate a request and point to “I” “ WANT” “MORE” and then point to the cup on the counter.

    This is not as cumbersome or limited as it first sounds or appears. Here’s why: As adult you can talk normally and, of course, many words you are using will not be on this board. But some will be, and you will be surprised how many you can find when you start using it. So you could say quite normally: Hey lovely (name of your child) would YOU LIKE some MORE water? The words in capital are on the board which you can point to as you speak normally. Basically, you are showing/saying to your child: “We can speak and these are the pictures we can use to help us; We call this TOTAL COMMUNICATION, as communication is so much more than just words! Great communication can be silent, where we use our facial expression, our smile, our eyes, our hand gestures, body movements and yes, of course, words. But when words fail us, these boards are so helpful.

    This still does not answer your original question of: why would I want to do this, I want my child to talk!? You are a SPEECH Therapist, please help my child TALK, not point to pictures, that is not what I had in mind.

    Let Me Explain

    When speech is difficult for a child it doesn’t mean that there is nothing to talk about! Of course, we want all our children and all people to speak because it is the easiest and most effective way of communicating, no doubt! However, sometimes this is very hard for some children and whilst we are always working towards speech where possible, we also want to make sure that whilst figuring out how to speak, your child has a MEANS TO COMMUNICATE. Using a board like this might well be a temporary strategy but whilst you are using it and working on their speech you will find a reduction in tantrums and frustration as you child is able to express themselves more effectively.

    Often we find that as soon as we offer a CORE VOCABULARY like the above sample a child who has had no or very few words suddenly blossoms and starts to point to new words on the board and starts to PRACTICE USING THESE WORDS!! Practice makes perfect, right? Yes it totally does! There is lots of evidence that tells us that using Core Vocabulary Boards ENHANCE AND SUPPORT SPEECH PRODUCTION AND NOT HINDER IT. Using a board like this will only ever be helpful to your child and will never make your child “lazy” – too lazy to speak? NO SUCH THING!

    Here is what one of my parents says about the core board we use with her little boy:

    “the board has been a game changer, my son is a visual learner so it really helps to have the board as he associates communication so much easier this way. We have incorporated his twin sister who models it’s use and have definitely seen improvement in speech through its support and his frustration around being unable to verbally communicate at times has definitely lessened”

    K Connolly, Mother of Tom (aged 3.5 years).

    Reading and hearing this makes me so happy!

    In addition to general core board above I also sometimes use a Core Board that is specific to an activity, such as for example BLOWING BUBBLES. Below is an example of such a board, which you can use very nicely during a bubble blowing activity and sometimes it is a nice place to start for newcomers, this can be an easy introduction. You can download this and many similar boards on www.widgit.com for free!

    Using a Core Vocabulary Board

    There is so much more to say about AAC and using Coreboards, visit my Instagram you can find a bit more information on how I use them.


    Find a speech and language therapist for your child in London. Are you concerned about your child’s speech, feeding or communication skills and don’t know where to turn? Please contact me and we can discuss how I can help you or visit my services page.

  • What is FRONTING?

    Kids Speech Therapist London

    Does your child say “Dough” instead of “Go”? Or “Tea” instead of “Key”? Do you hear a /Sh/ instead of an /S/ does “see” sound more like “she”?

    We Speechies call this a Fronting Pattern which means that a sound that should be produced at the back of the throat with the back of the tongue, like K or G , is said at the front of the mouth with the tip of the tongue, like a T or a D or SH. When this happens speech can be really hard to make out because these sounds are literally everywhere in everyday sentences. Just think how many K’s and G’s we hear in a simple sentence?

    For example, I heard my little student say earlier today: “I know what game we can play in your garden? It’s the one with cones and rings and cushions! I know where it is I can get it.”

    But it sounded like:

    “I know what DAME we DAN play in the DARDEN! It’s the one with TONES and rings and TUSHIONS! I know where it is I TAN DED it.”

    If that sounds familiar to you, here is a little overview of what we can do about it:

    First up it’s always good to start with general speech sounds awareness: does a child hear syllables and intonation? Do they know words that rhyme? Can they follow or copy a simple beat with a drum? Can they listen and hear quiet sounds and loud sounds and can they copy those? Can they follow mouth and tongue movements:, for example : stick out your tongue, lick your lips, click your tongue, blow raspberries?

    Then it really helps to talk about BACK and FRONT of things and to draw attention to the back of the mouth and the back of the tongue and the front tip of the tongue and how sounds are made in the mouth. I often use a puppet to show this or a model of a mouth like this one here in the picture.

    Next we try and listen to words starting with a BACK sounds like a K or a G , and I read out a list of words with those sounds: COW, CORE, CAT, CONE, KEY etc or ARK, EEK, OAK, ACHE…

    Or GOO GUY GUM GONE

    After that we try and see if a student can actually produce a single sound like a K or a G just by itself. If they can, that’s a really great start and if they can’t I help them to produce one – over a few sessions we usually get there. We call this Sound production in isolation.

    Once a child can produce a sound correctly, on its own, we try and start working on very simple words that are really powerful like “GO”!!!!! in a motivating game or “CAR” for little ones who love a car racing track.

    Now that we have established the back sounds and are using it in short words, we can gradually re-train brain pathways and oral- motor/movement pathways to use these new sounds in many words and then short phrases. That can take time!! This is called generalisation and it is not uncommon for it to take up a whole year for fluent speech to be error-free .

    Why does it take so long? Being able to produce a correct and clear K or G sound does not mean it will be used easily. Our brain pathways are fixated or habituated to the error sound. It takes time for habits to change. A child might be able to hear the word TIGER with a G in the middle and she knows that it is not a TIDER but when saying it her tongue automatically moves forward rather than lifts up at the back. It’s a bit like a person who has a rounded back: the brain knows to stand upright and how not to slouch, but when we don’t focus on it, ooops we have slouched again because that is what we are comfortable doing and our body moves with our habit.

    It takes effort and motivation to change our movement patterns and that includes our tongue and lip patterns! We usually get there through a huge variety of games and practice. Lots and lots of repetition is key as is motivation to change.

    Parents and carers are crucial in the success of Speech Therapy!

    We need your feedback at home, the regular short and sweet exercises, the constant positive encouragement and great modelling of speech sounds. We often find that parents are tuned into their child’s error sounds and can understand them much better than anyone else. This is great of course in many ways, however, it also means that the child has less motivation to change: if mummy understands me then my world is ok.

    I will give you a short outline of what different speech therapy models I use in my practice, be it in clinic face to face or on-line in my future blogs soon.


    Find a speech and language therapist for your child in London. Are you concerned about your child’s speech, feeding or communication skills and don’t know where to turn? Please contact me and we can discuss how I can help you or visit my services page.

  • ·

    Cued Articulation – using hand gestures to show how a sound is made

    Watch how cued articulation can transform your child’s speech and language skills!

    Cued Articulation involves using specific handshapes and placement cues to guide the speaker’s articulators, such as the tongue, lips, and teeth, to produce accurate sounds. It was originally conceptualised by Jane Passy, a speech-language pathologist. But it is important to know that we can, and often do, also use other speech cues which help our student visualise what they need to do. In other words, we can mix and match our cue pictures depending on what works best with each student.

    In the beginning of my speech therapy practice I would stick religiously to Jane Passy’s method but over the years I have learned and used many different visual hand cues which all have worked with individual students.

    It is important to remember that this is not an exact science, rather than an art! The art is to find the key to each individual student’s understanding and inspire motivation to try out a sound which they find hard to do.

    As an example, the hand signs used by Caroline Bowen’s method, an Australian Speech-Language Pathologist, are quite different to Jane Passy’s signs but they can equally work very well. Caroline Bowen’s visual for the /r/ sound is the ‘rowdy rooster’ — a crazed rooster on a motorbike — and the hand signal is that of revving up the motor bike engine with both hands whilst trying out the /r/ sound! I have a good handful of students who really loved this rooster image and were able to eventually produce a good /r/ using this cue.

    So, it is horses for courses with many things, and visual images and hand cues are no exception!

    Sound picture cards:

    Again, there are a host to choose from and I tend to collect a number of different images for each sound I want to practise with my student. As an example, below are a couple of different examples I use for the sound /p/:

    The Nuffield Programme suggests to use this popper card, which works well with a student who knows these poppers and perhaps has one on their trousers.

    As an alternative, and especially for younger students, I like using the Popper Pig Card – which I also have in my room so I can quickly show how it pops. Or we can have a popping game in between saying the /p/ sound at times. (The popper card is great as I can use the real toy to help with conveying the /p/ sound as it pops.)

    Each card has its own merit and I choose the right card for the individual student.

    How I use cued articulation and the visuals in Speech Therapy

    1. Cueing and practice: I introduce the appropriate card and handshapes for the targeted sounds. We then practise producing the sounds.
    2. Reinforcement and feedback: Positive reinforcement encourages progress and builds confidence.
    3. Fading out the cues: Once my student is able to say the sound more easily, we can gradually fade out the speech cues.

    Benefits and effectiveness

    Using Cued Articulation and Speech Image Cards has been shown to be effective in improving speech production for individuals with various speech and language disorders, including:

    • Articulation disorders: Difficulty producing specific sounds accurately.
    • Apraxia of speech: A motor planning disorder that affects the ability to sequence and coordinate movements involved in speech.
    • Phonology disorders or delays: Confusion and delays in how sounds are organised in categories to convey meaning, errors in sound patterns, for example front sounds are produced at the back, or long sounds are produced as stops.
    • Stuttering: A fluency disorder characterised by interruptions in speech, such as repetitions and prolongations.

    Tips for parents and student speech therapists

    Parents can play a crucial role in supporting the implementation of cued articulation at home and in therapy sessions. Here are some tips:

    • Collaborate with your SLT: Good feedback and communication with the Speech and Language Therapist creates consistency and progress..
    • Practise Regularly: Encourage consistent practice of cued articulation at home to reinforce learning.
    • Use Visual Aids: Use the same visuals that your therapist uses in the speech clinic to help your child at home with recall and practice.

    Feel free to contact me if you need help with your child.

    Sonja McGeachie

    Early Intervention Speech and Language Therapist

    Feeding and Dysphagia (Swallowing) Specialist The London Speech and Feeding Practice

    The London Speech and Feeding Practice


    Find a speech and language therapist for your child in London. Are you concerned about your child’s speech, feeding or communication skills and don’t know where to turn? Please contact me and we can discuss how I can help you or visit my services page.

    1